 "Urambo Tauro" (urambotauro)
09/15/2016 at 12:00 • Filed to: cl100, honda, motorcycle, project, wrenching, blog
 6
6
 10
10|
"Urambo Tauro" (urambotauro)
09/15/2016 at 12:00 • Filed to: cl100, honda, motorcycle, project, wrenching, blog | 6
| 10 |
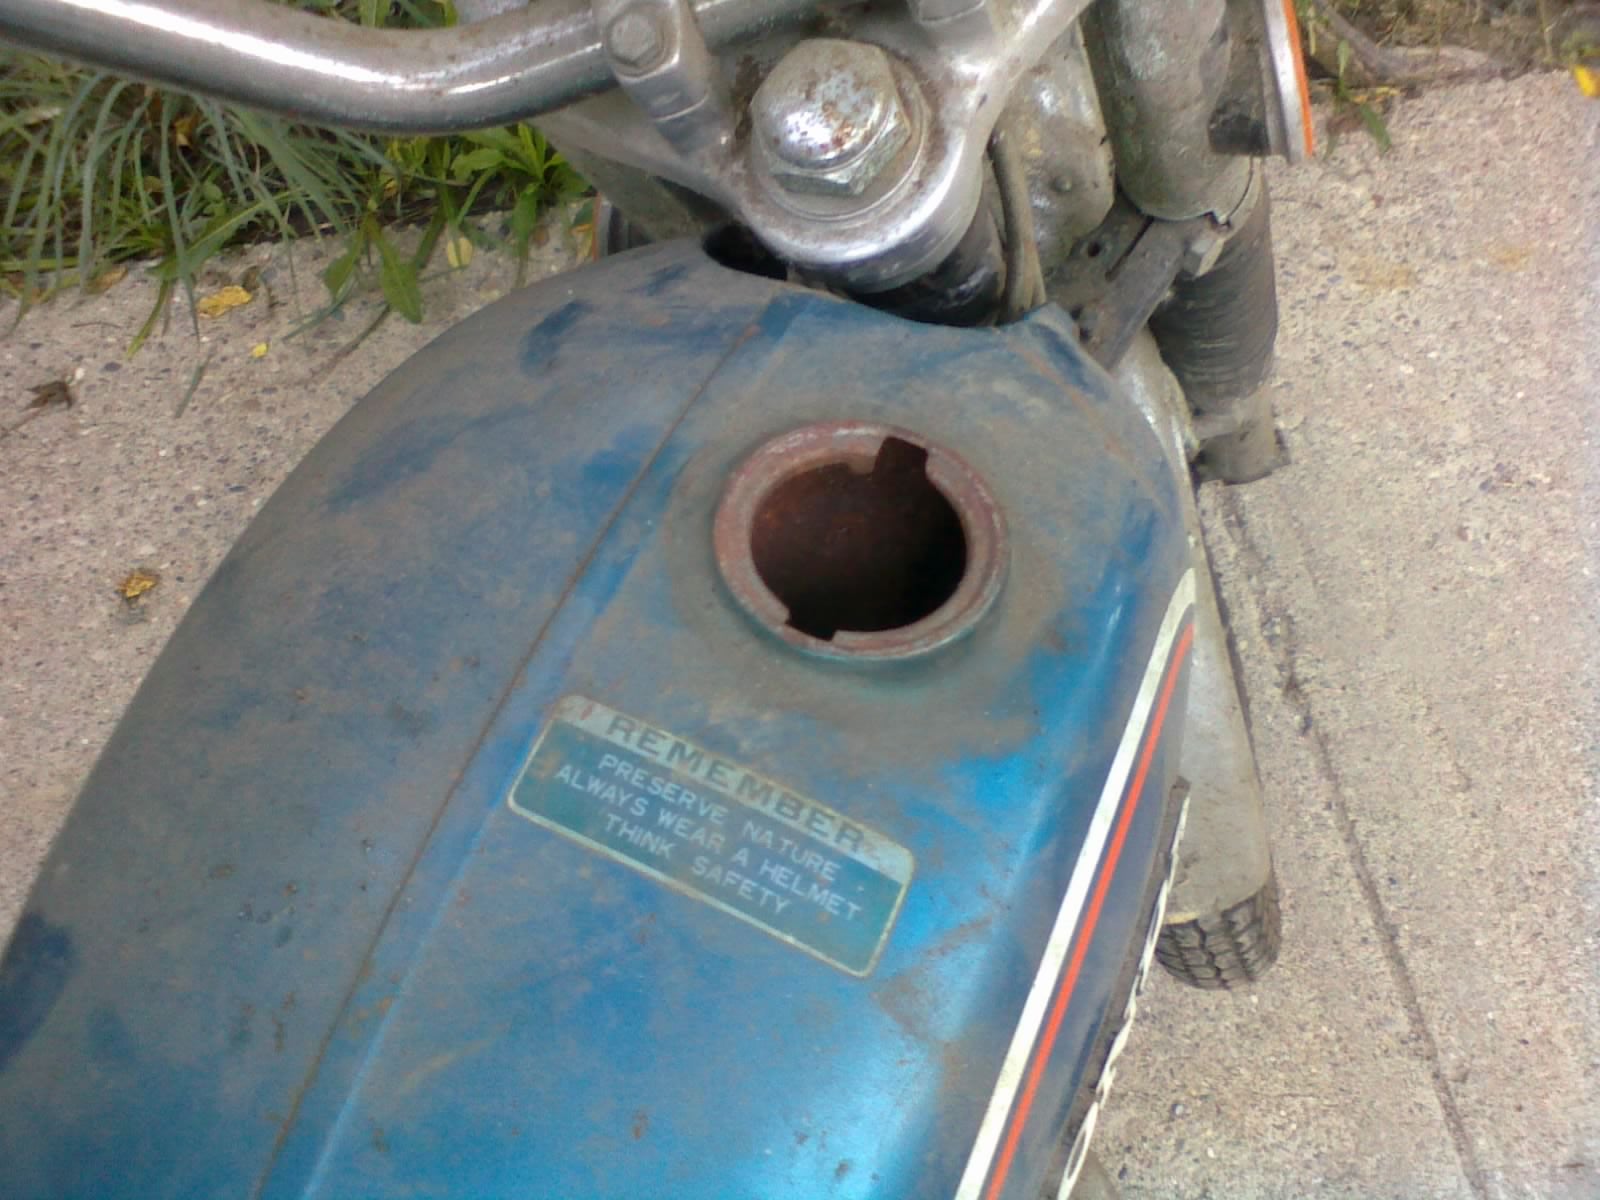
Before buying a kit to refinish the inside of my father’s !!!error: Indecipherable SUB-paragraph formatting!!! ’s fuel tank, I thought it would be a good idea so see what would happen if the rust was removed. If there’s going to be any hope of re-using this tank, the rust has to go, and I need to know if there’s good metal underneath that oxidation.
I’ve heard of !!!error: Indecipherable SUB-paragraph formatting!!! a couple of times, but was always too nervous to try it out. Usually when I’m trying to remove rust I can get away with using wire wheels, brushes, sandpaper, etc... That’s not going to be an option this time.
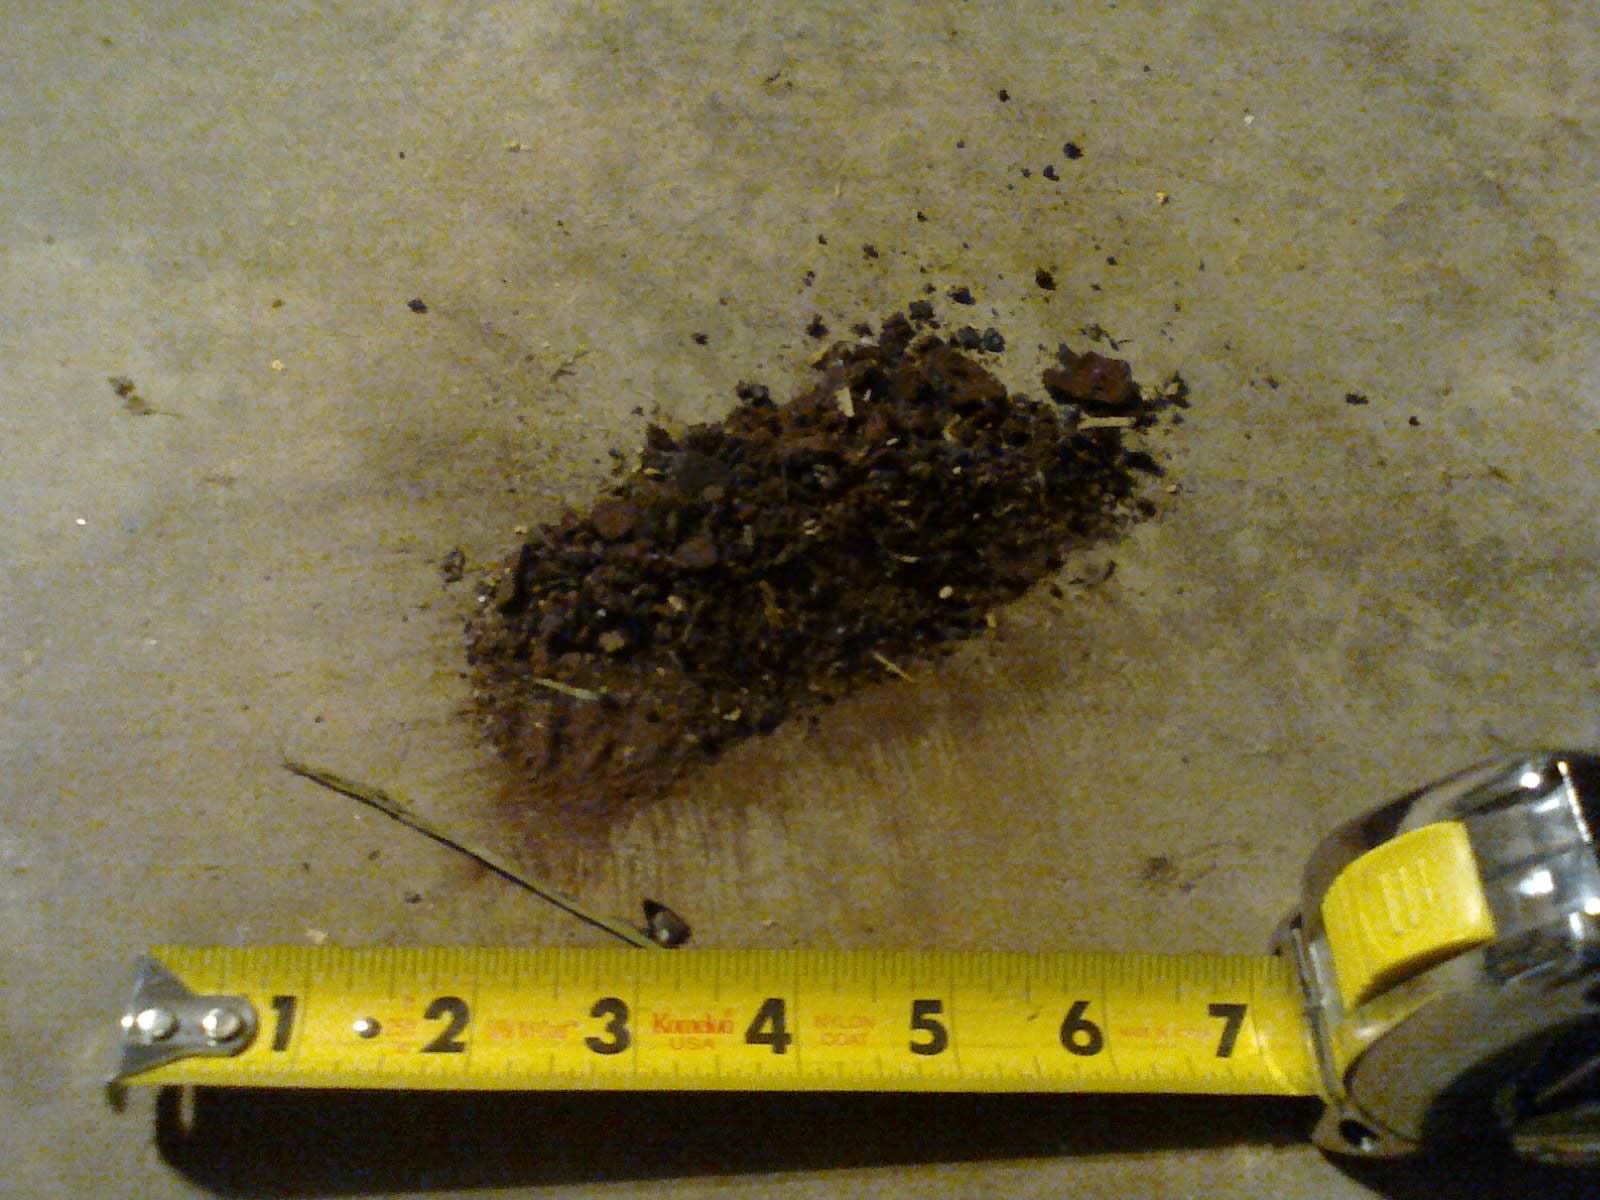
The 2-gallon tank was completely dry, and has been for years. So I struck the tank a few times to shake free any loose rust. It’s already dented and scratched up on the outside, so I’m okay with that so long as I don’t introduce any new dents. So I rapped it on the workbench a little and shook out the contents. This is what came out:
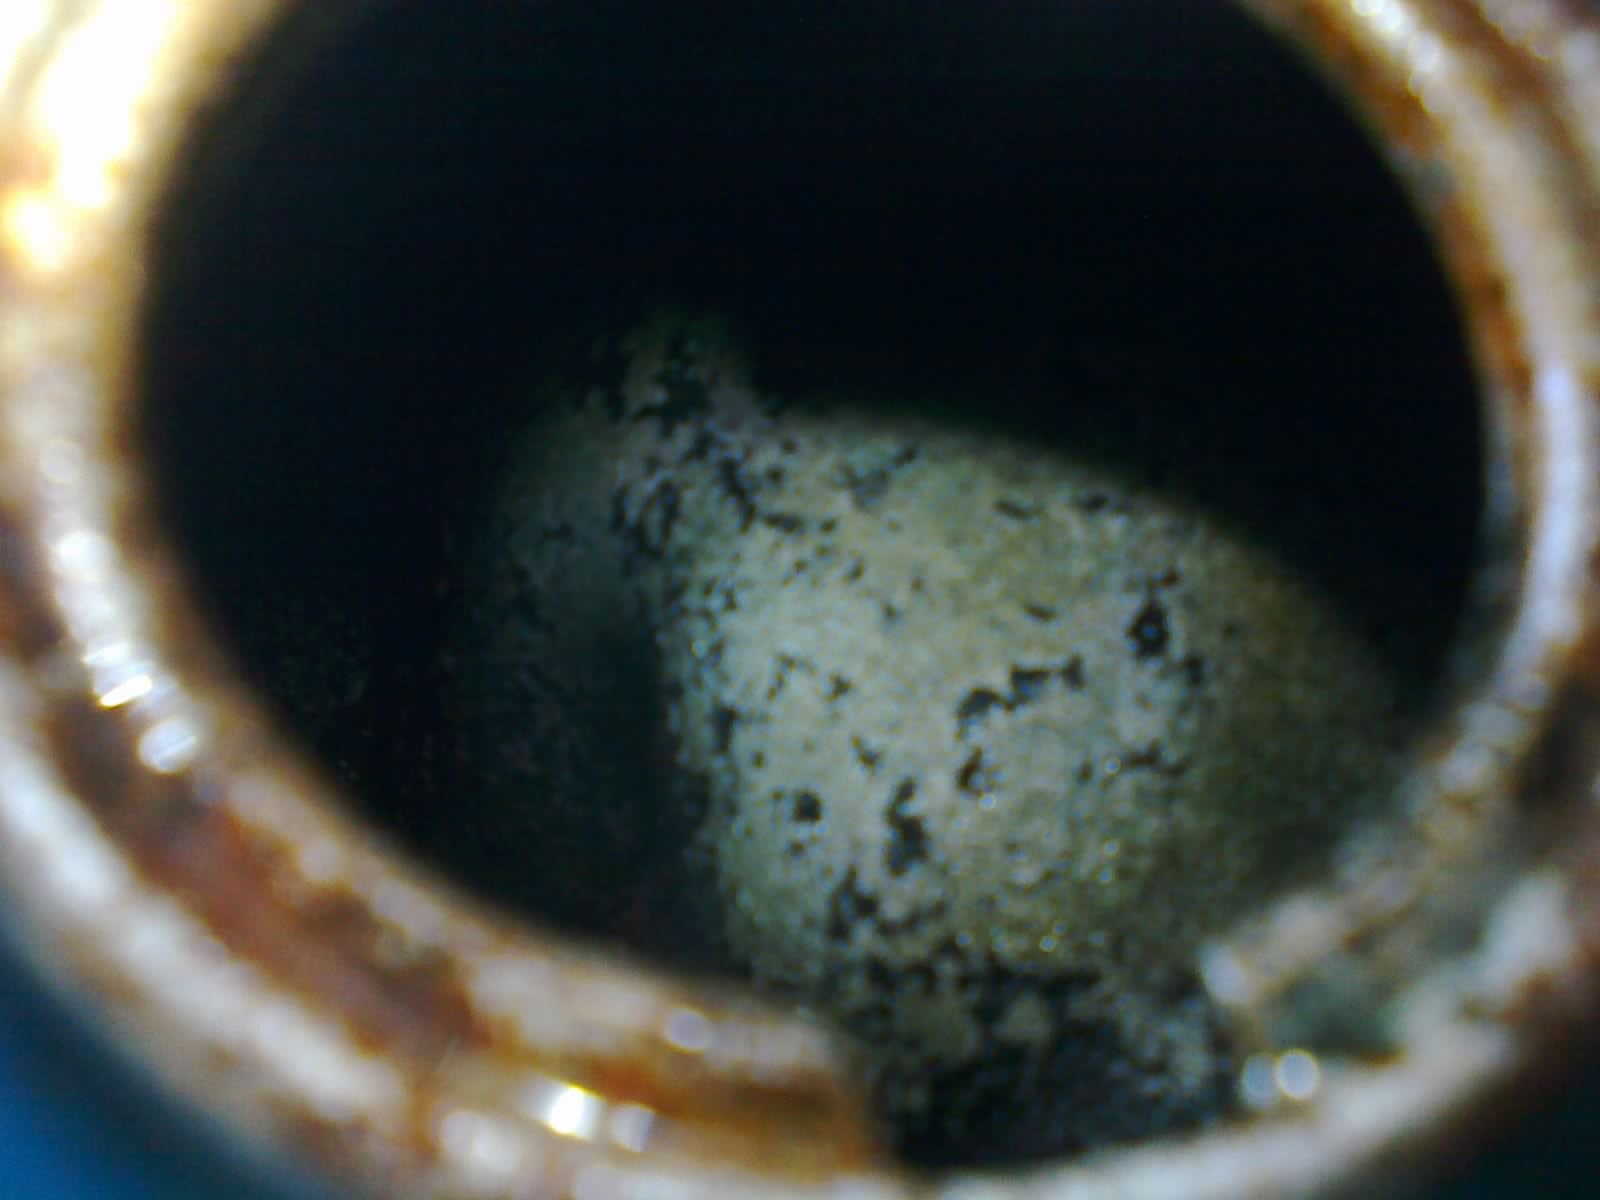
I stuck my scope down inside to see what was left. There was still plenty of very coarse rust at the bottom of the tank, much worse-looking than the thin layer that was visible at the top.

Scope view- LEFT: top of the inner hump. RIGHT: bottom of the tank.

I carefully removed the fuel valve (nearly destroying the retaining screw in the process), then decided that I was going to replace the whole assembly instead of trying to preserve or clean it. So I reattached it to keep the tank from leaking, and mixed up the solution: 1 tablespoon of sodium carbonate (washing soda) per gallon of water.
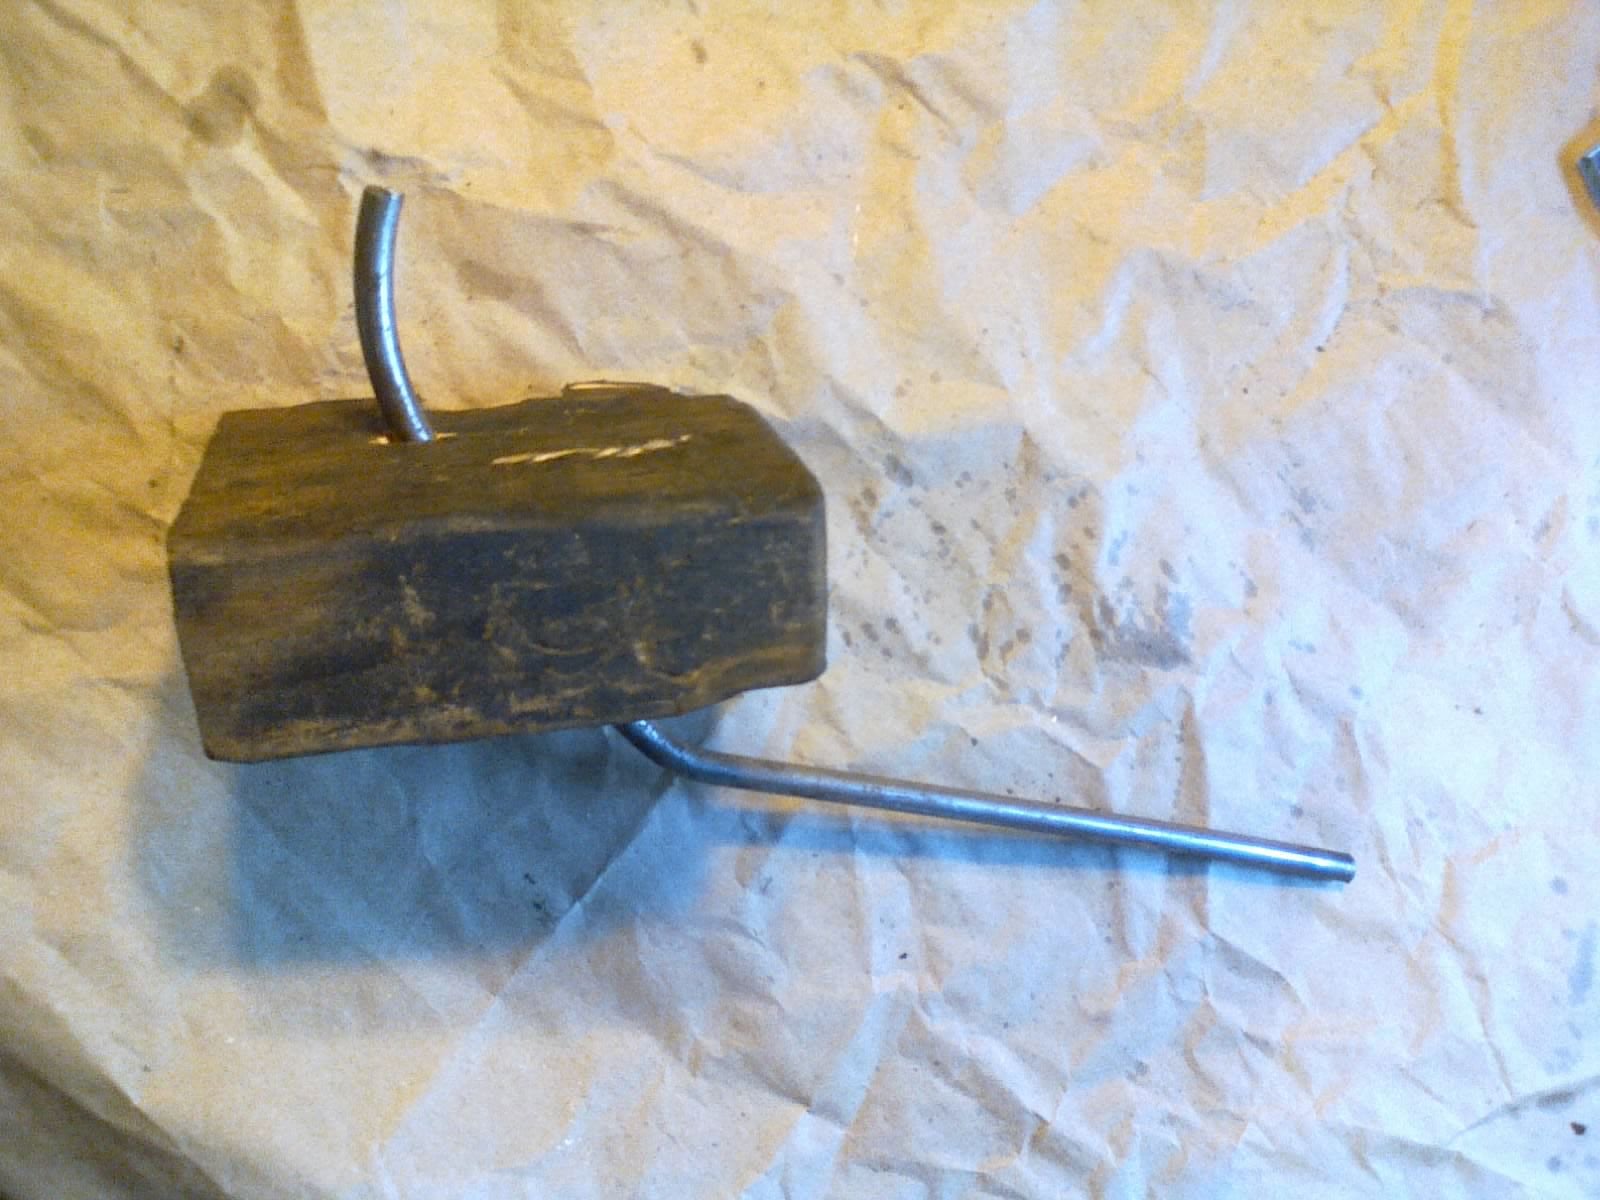
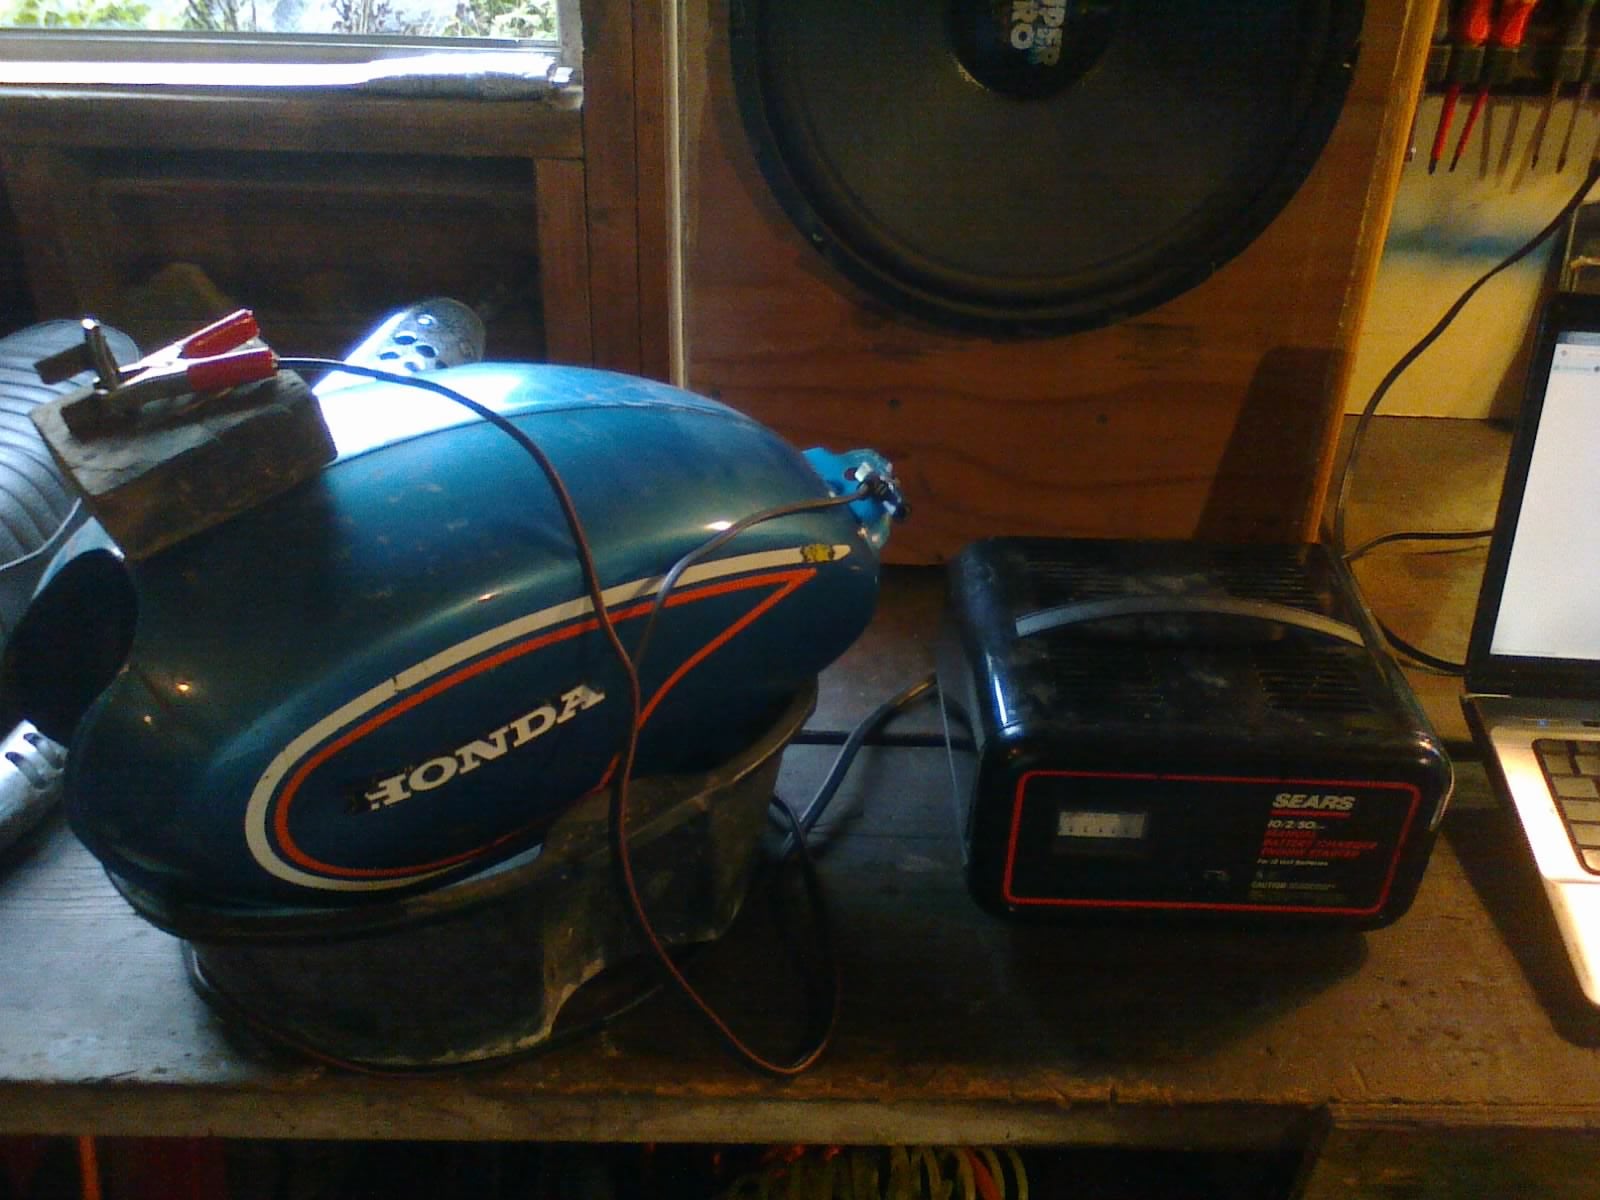
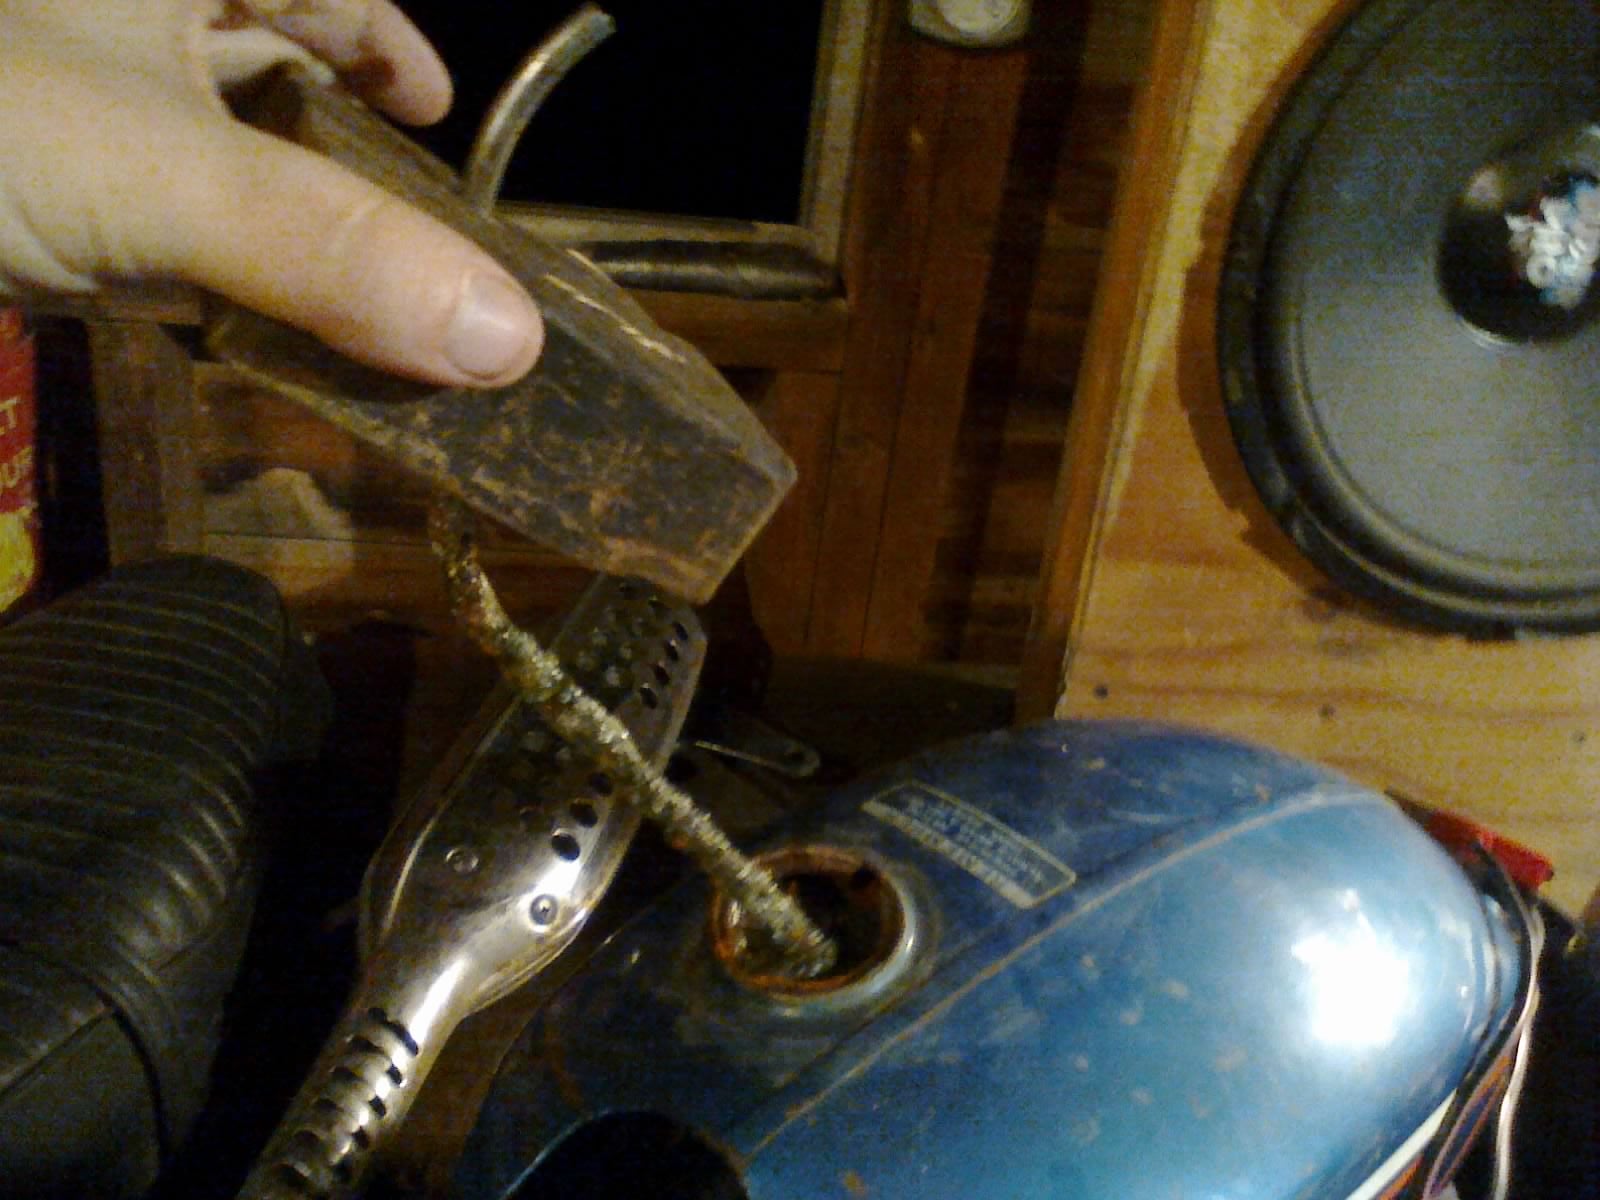
I poured as much solution into the tank as I could and set the tank atop a drain pan just in case I find a leak. I fashioned a sacrificial anode out of some 1/4" steel rod that I had laying around, and forced it through a freshly-drilled hole in a scrap piece of wood. I then bent it to a shape that would not contact the inside wall of the tank and placed it into the fill hole.
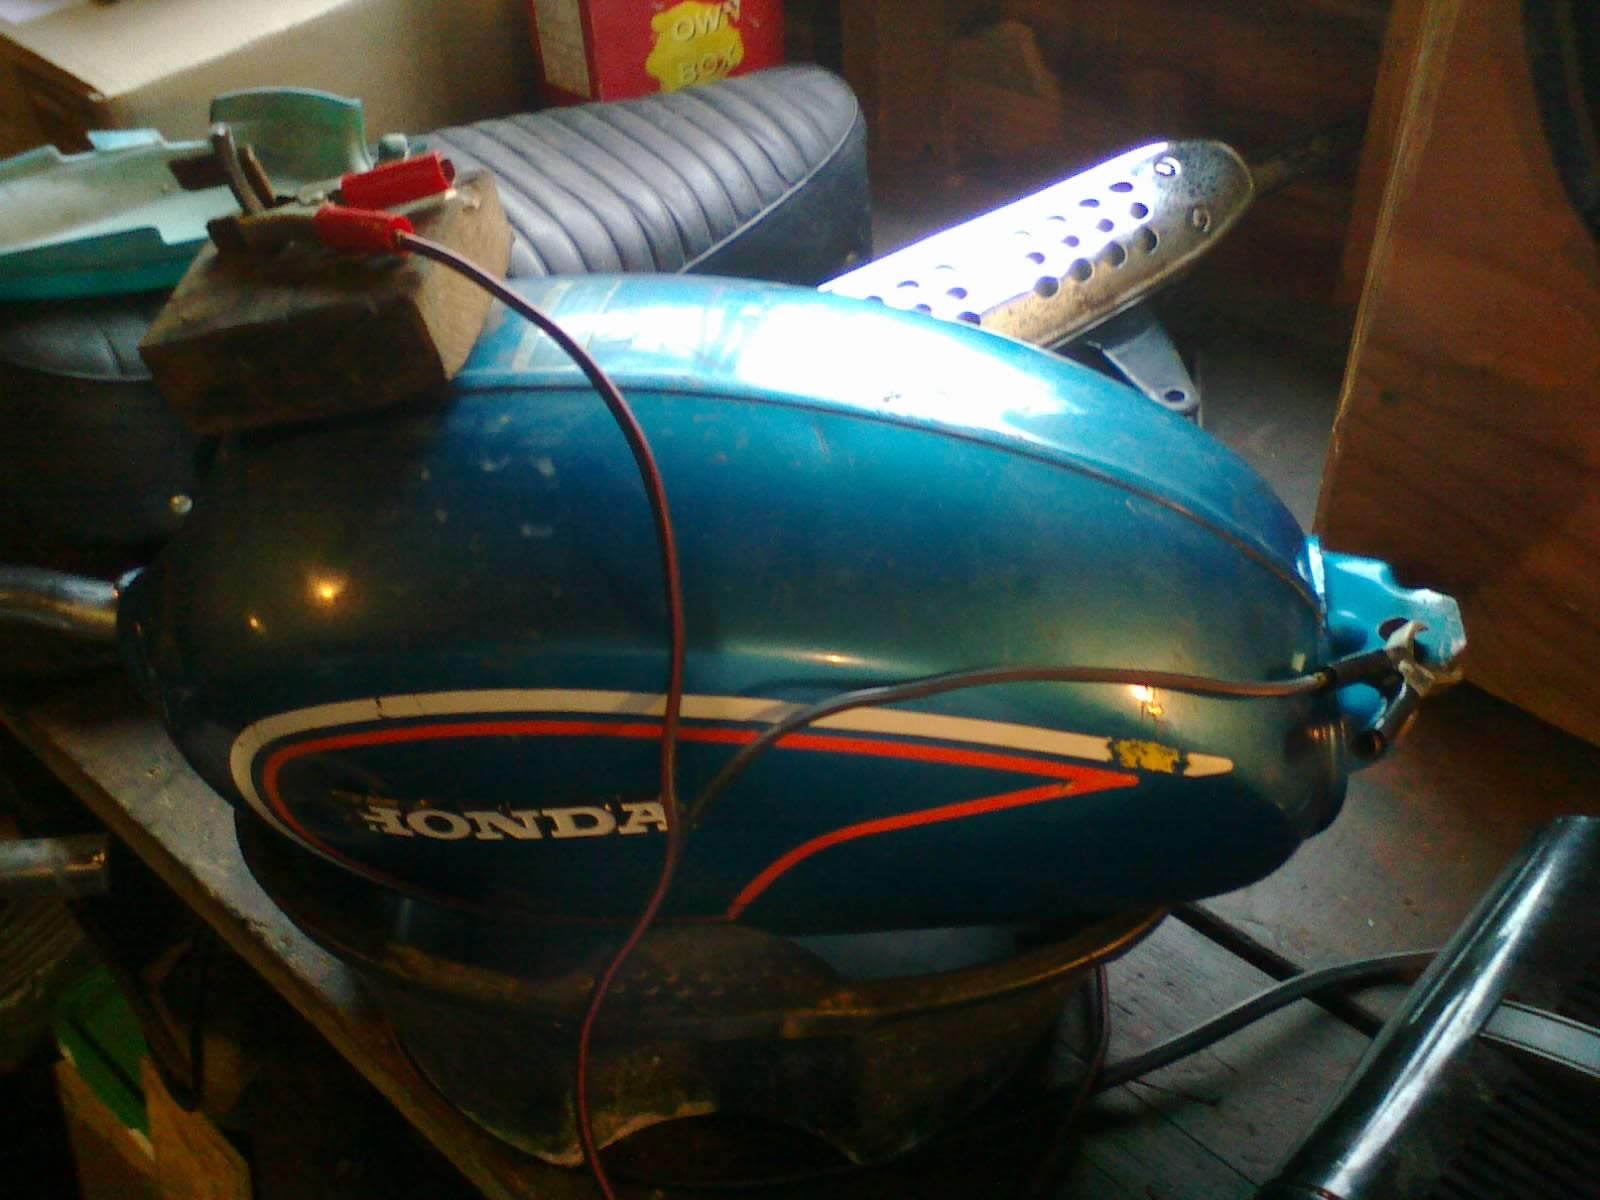
A lot of modern battery chargers are too “smart” to be useful for this sort of thing, so I used an older-style manual 12V charger. I hooked the negative lead to the exterior tank mount, and the positive lead to the anode. After a quick test run at the 2 amp setting, I switched it to 10 amps and let it sit for a few hours.
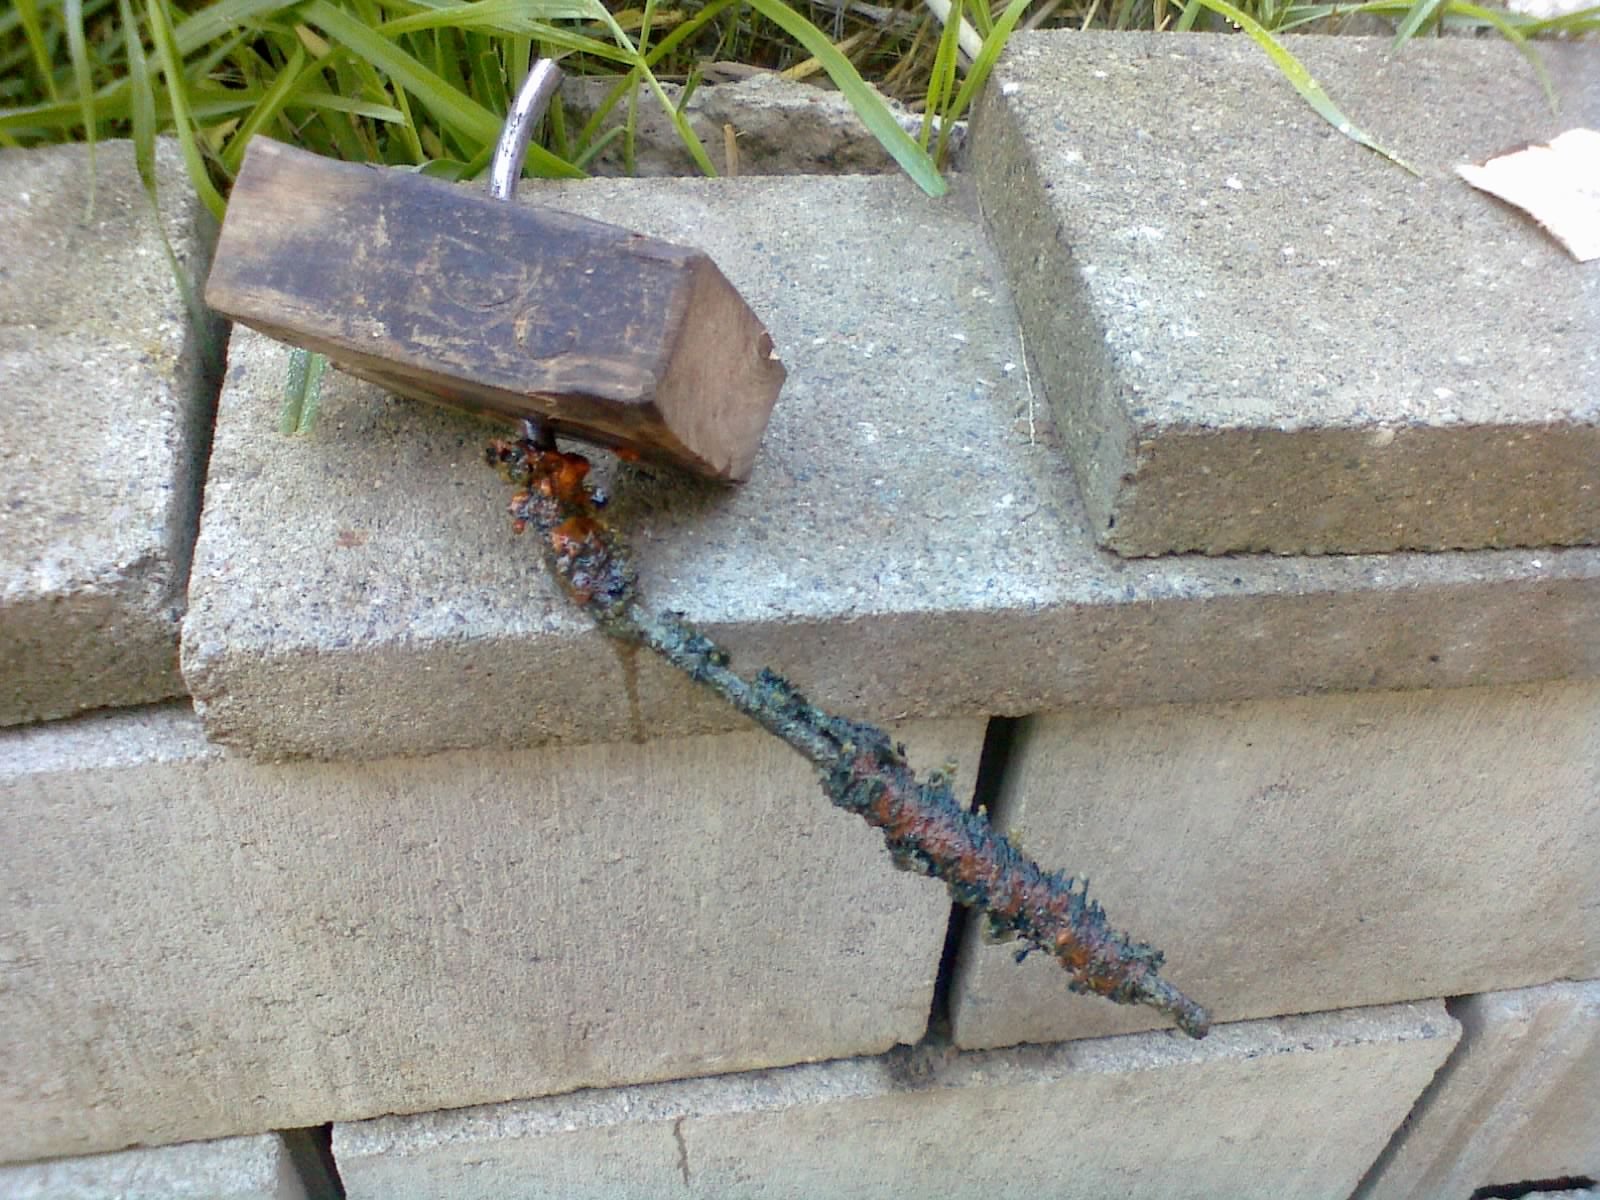
I came back, turned it off, and cleaned off the anode. I then poured the nasty green-brown solution out, rinsed the tank, and put a fresh batch of solution in. I switched it back to the 2-amp setting for the night.
After 24 hours of pixie-dancing, the inside of the tank was starting to show some real progress:

Scope view- LEFT: top of the inner hump. RIGHT: bottom of the tank.
I dumped the tank and set it all up for another round. Not sure how many cycles this is going to take, but I like what I’m seeing so far.
 AuthiCooper1300
> Urambo Tauro
AuthiCooper1300
> Urambo Tauro
09/15/2016 at 12:09 |
|
Wow, so interesting.
I have a 22 year old car whose fuel tank is absolutely riddled with rust (and the part is NLA, of course). Please keep us posted.
 kgman
> Urambo Tauro
kgman
> Urambo Tauro
09/15/2016 at 12:13 |
|
This is awesome. I also really want to see an update
|
Urambo Tauro
> AuthiCooper1300
09/15/2016 at 12:15 |
|
I’ll post an update tomorrow. At the rate this is going, that probably won’t be the final update, but if anyone’s got any tips for speeding up the process, I’m all ears.
 Pearson Hurst
> Urambo Tauro
Pearson Hurst
> Urambo Tauro
09/15/2016 at 12:21 |
|
Keeping the electrolytic solution warm helps, which may not be practical here, as does regular cleaning of the anode. Thankfully there was mostly just surface rust in my tank, so letting it spend the night full of white vinegar was all that was required. Good luck to you!
 shop-teacher
> Urambo Tauro
shop-teacher
> Urambo Tauro
09/15/2016 at 12:34 |
|
That’s pretty freaking cool! I’m looking forward to seeing the end result.
|
Urambo Tauro
> Pearson Hurst
09/15/2016 at 12:34 |
|
Hm. I don’t have an electric blanket, but I can use hot water on my next refill...
 CalzoneGolem
> Urambo Tauro
CalzoneGolem
> Urambo Tauro
09/15/2016 at 12:36 |
|
I know I suggested replacing the tank but this is cool as shit and good on your for doing it.
|
Urambo Tauro
> shop-teacher
09/15/2016 at 12:39 |
|
Now that I’m more comfortable with the process, I’m going to start using it to clean smaller pieces, like tools.
I know it won’t restore a pitted surface to new condition, but it’s doing a pretty good job of peeling the rust away. I’m impressed.
|
Urambo Tauro
> CalzoneGolem
09/15/2016 at 12:40 |
|
Thanks! I did look at a few tanks, and it looked like I would have to do some rust removal anyway on the more affordable ones. Fingers crossed that I can save this one...
|
CalzoneGolem
> Urambo Tauro
09/15/2016 at 12:49 |
|
Well I’m pulling for you now.